It's always such a treat to share something new with everyone, and today I’m thrilled to introduce you to a fascinating fabric manipulation technique known as the tuck and fold method. Anna, who generously volunteered her time to create this tutorial for us, has done an amazing job breaking down this seemingly complex yet rewarding technique. Thank you, Anna, for this fantastic contribution!
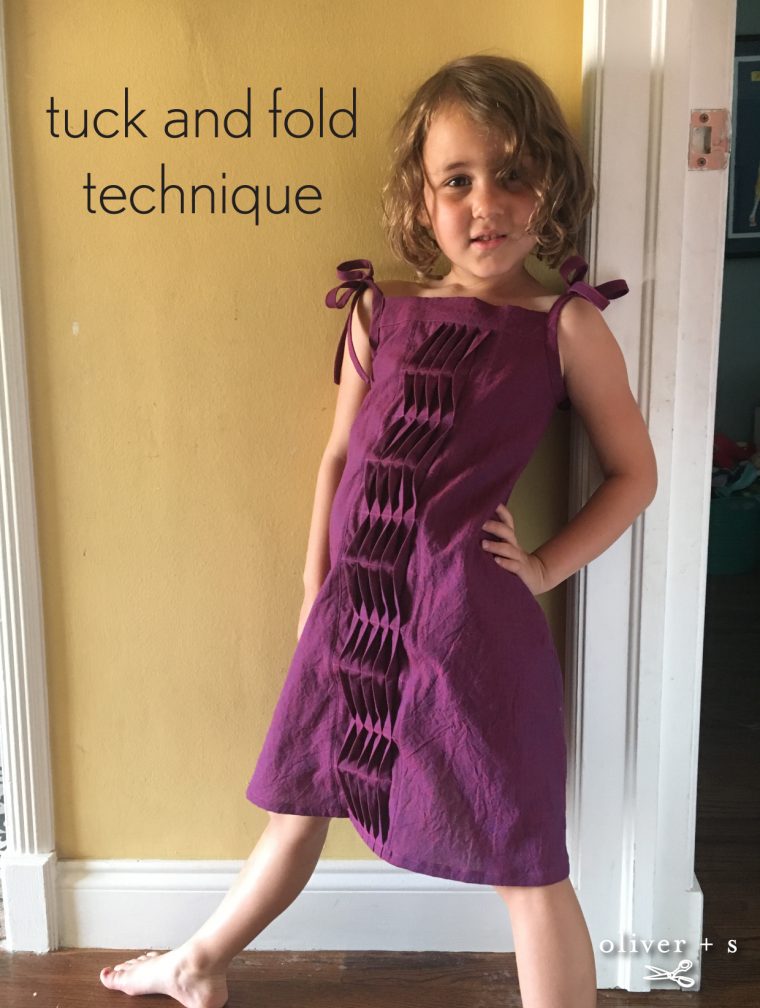
A while back, I experimented with a technique I had spotted on a few other blogs, which involved creating folds to mimic an origami or wave-like effect. I love how this method gives off an air of complexity that it doesn’t quite possess, and it turned out beautifully on the Popover Sundress.
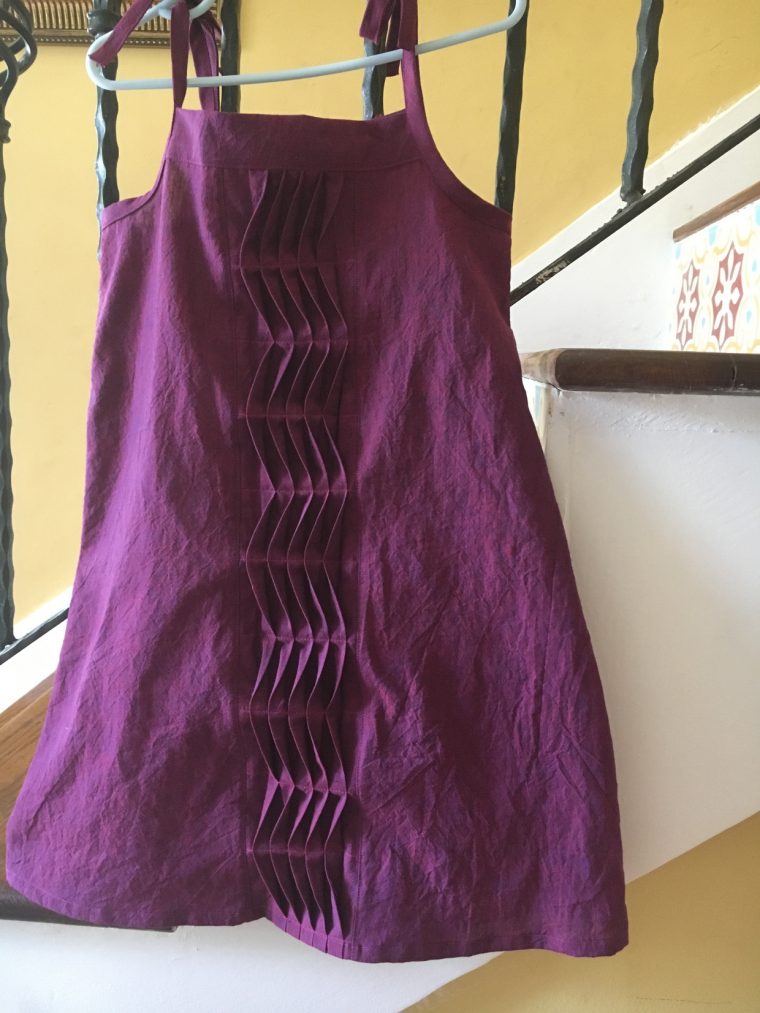
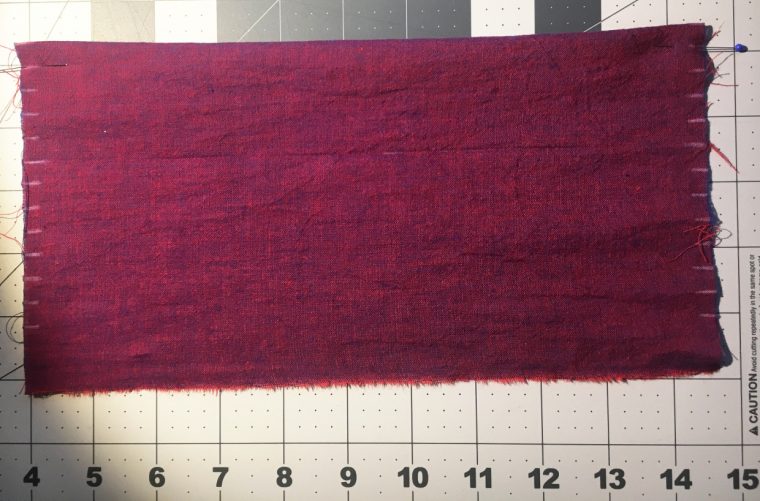
With some leftover fabric, I decided to craft a matching doll dress and document the process for a step-by-step guide. The fabric I chose was a rich grape-colored shot cotton by Kaffe Fassett. Linen could also work wonderfully for this project.
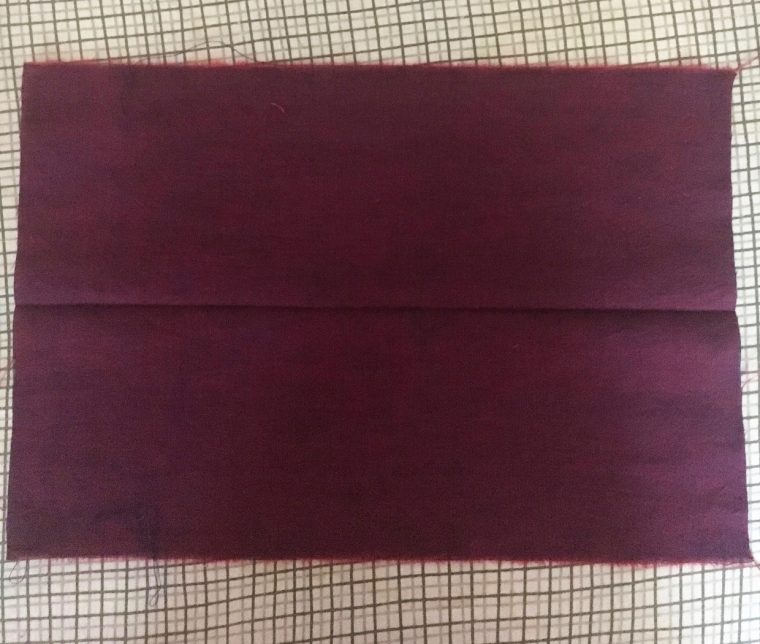
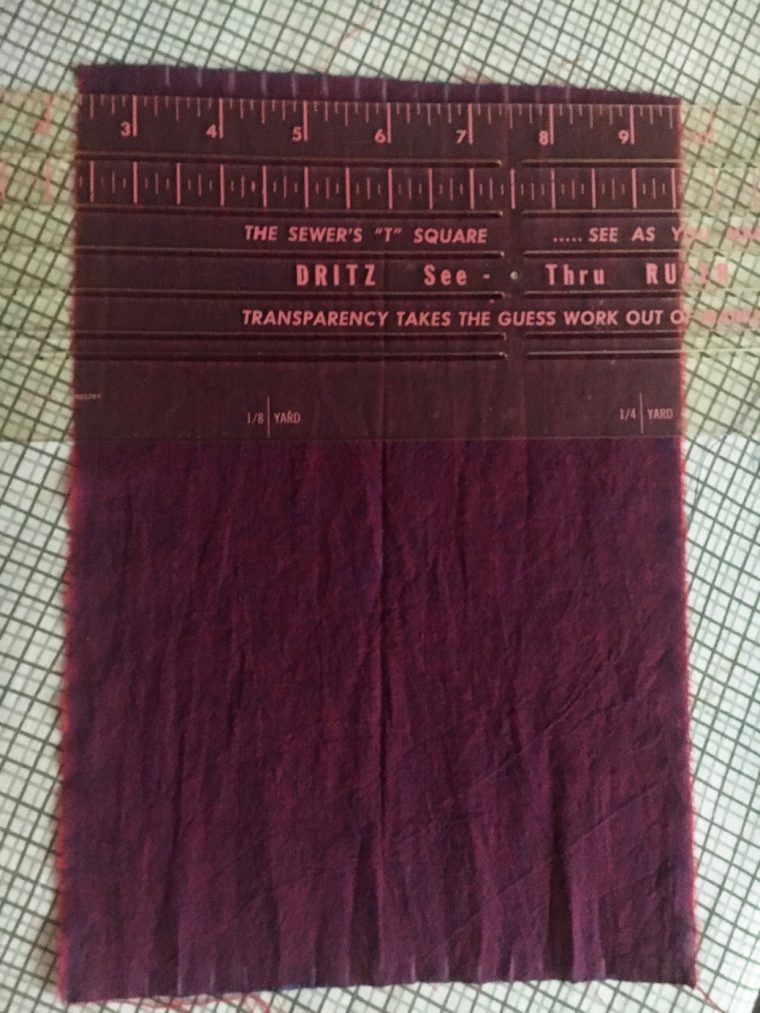
To begin, cut a rectangle slightly longer than the pattern piece. This rectangle will form the central panel of the dress. Fold it in half and press it. Using that center crease as your reference, mark points 3/8†apart on both ends. For a larger dress, you might want to increase this to ½â€. You don’t need to mark all the way to the edges since you’ll require extra fabric on the sides to attach the panel to the rest of the dress.
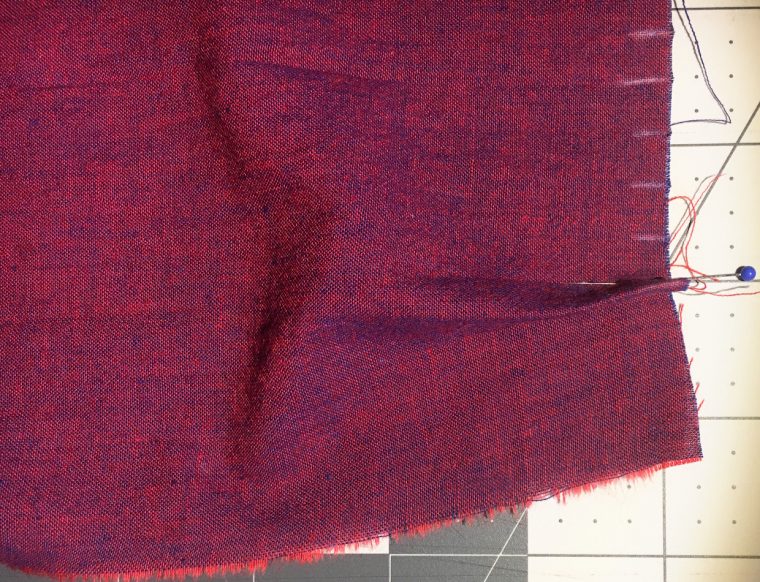
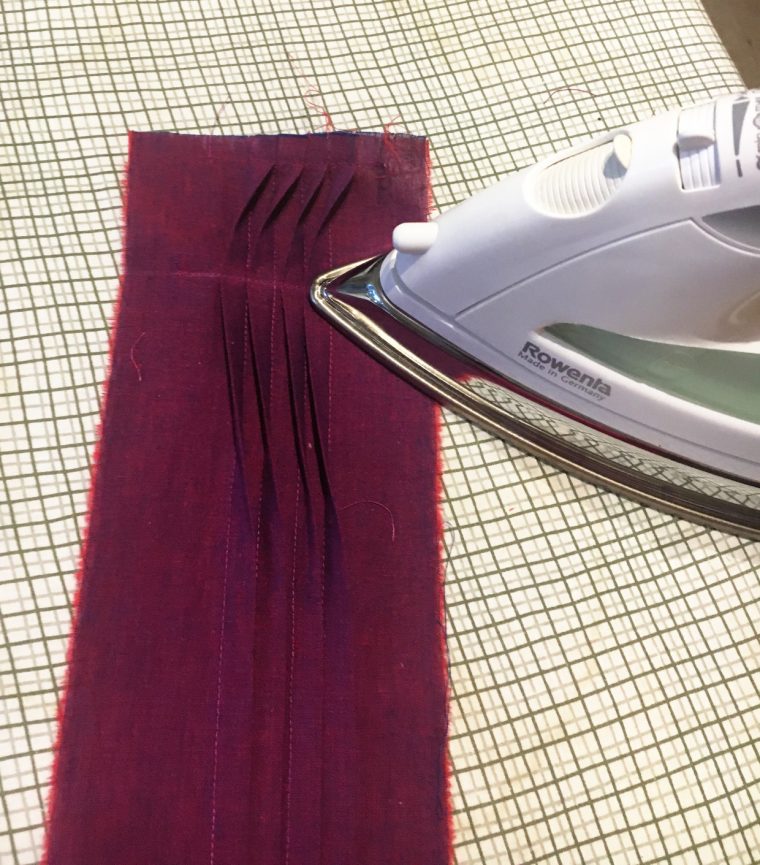
Now, start making the first tuck. Fold the first mark to meet the third at each end of the panel, ensuring the second mark aligns with the fold’s crease. Press and stitch. Once done, press the tuck to one side.
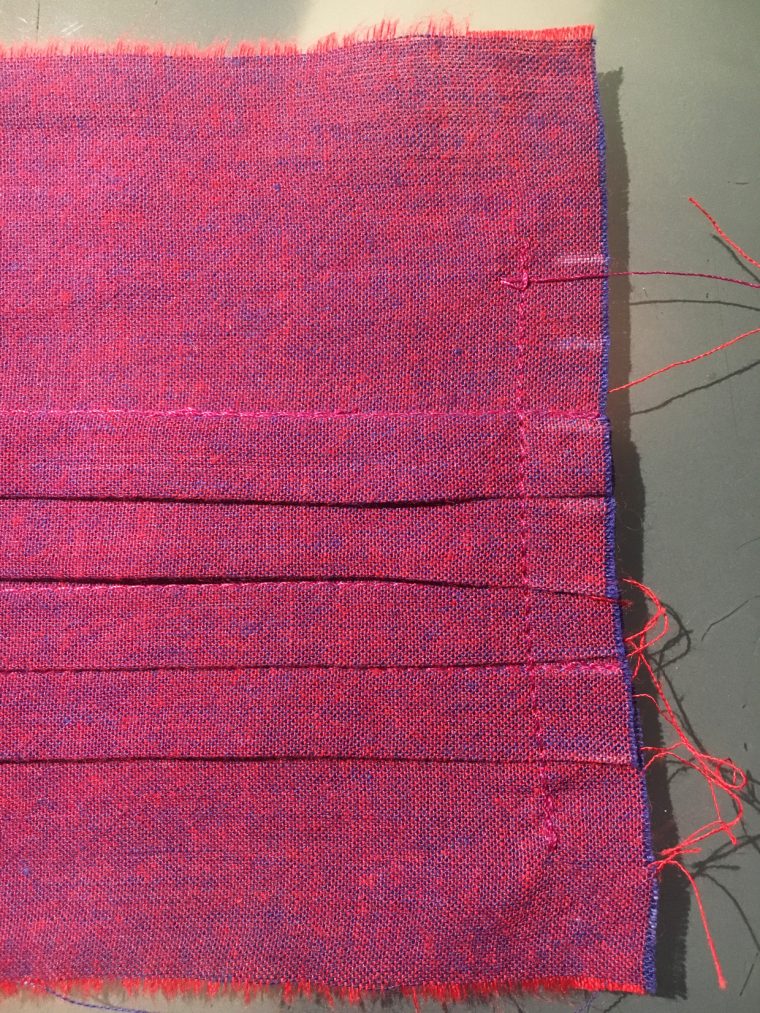
Continue creating tucks across the panel, using each set of three marks as a guide. As you progress, press each tuck as you sew them. Once you’ve reached your desired number of tucks, stitch a line across the top of all the tucks.
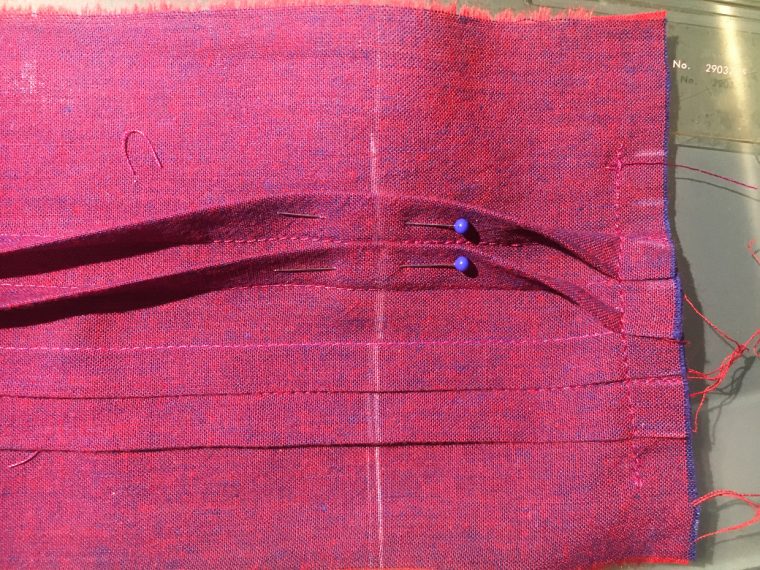
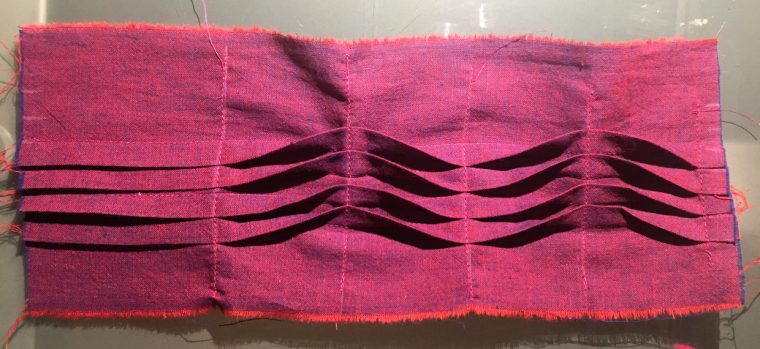
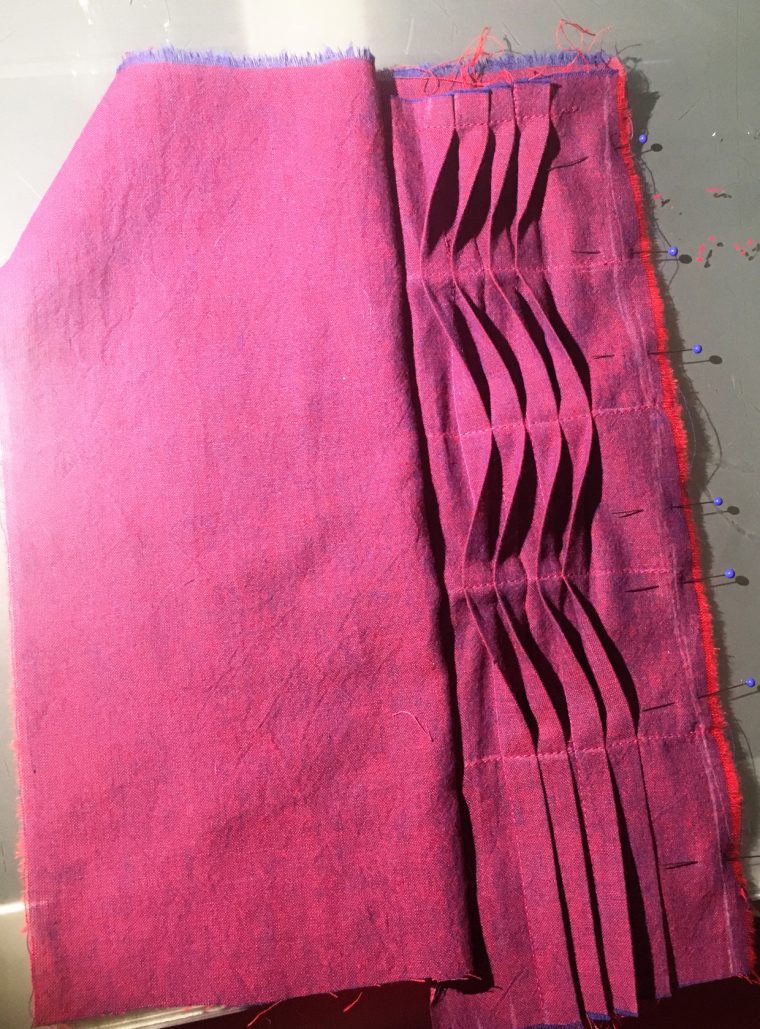
Mark a line approximately 2†below the top stitch line. Flip each tuck over and pin them in place. Then, stitch along that line and press. Repeat this process, alternating directions every 2†or so. If you prefer more pronounced waves, consider decreasing the distance between lines.
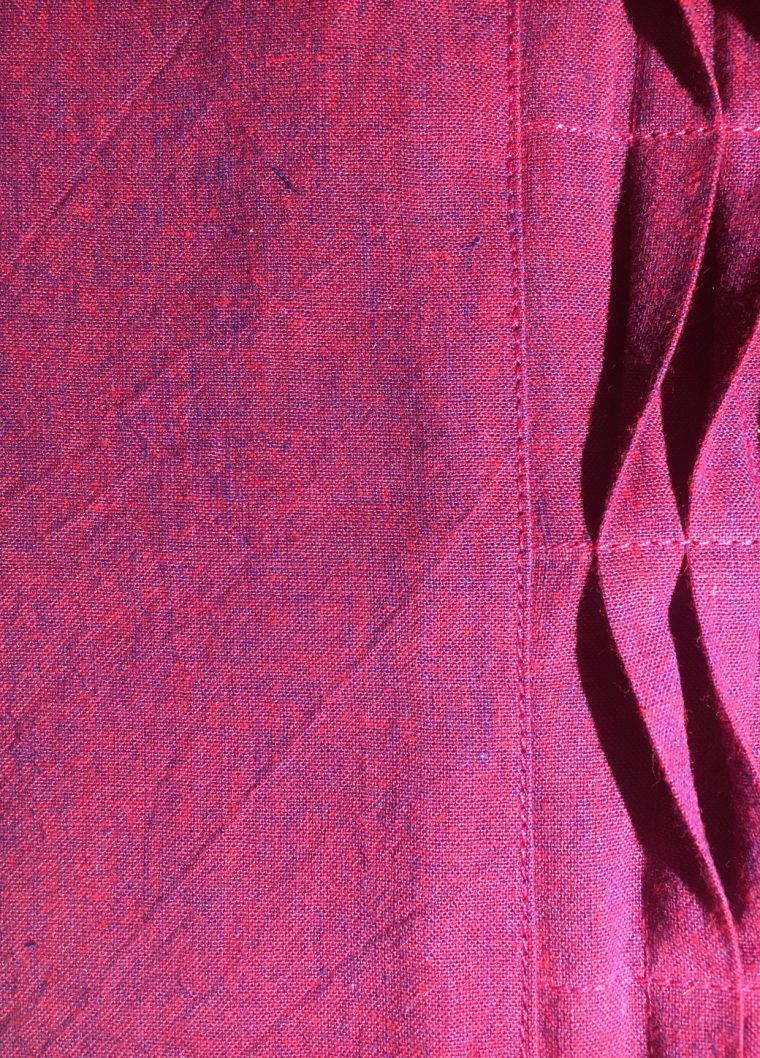
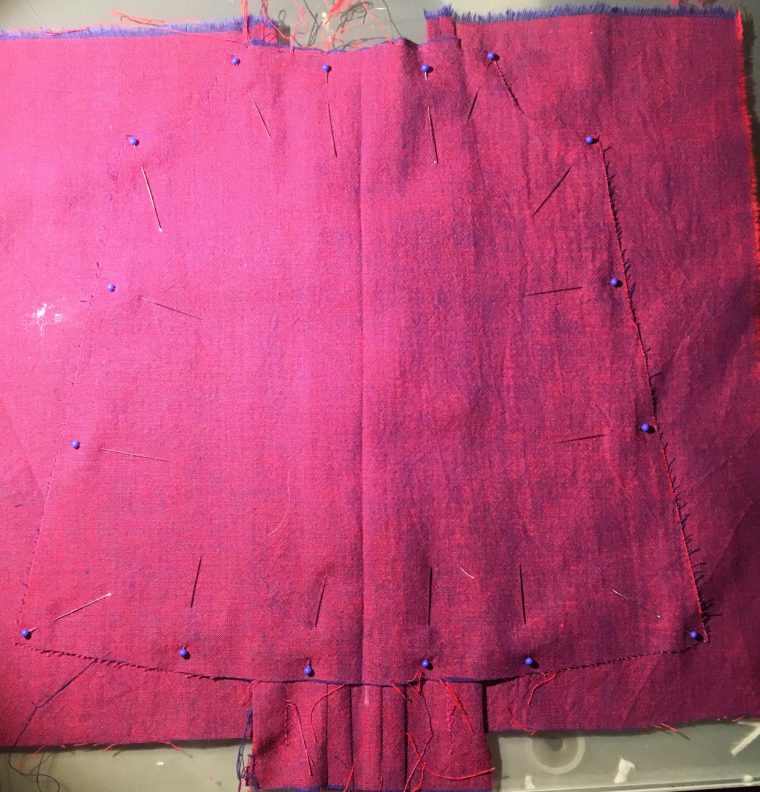
Attach additional fabric to each side of the panel using French seams to ensure a tidy finish. Topstitch along the sides for added detail.
Cut out the pattern piece and assemble the Popover Sundress as usual. Since cutting on the fold might be tricky, I used the back piece as my pattern template.
And voila! Your unique creation is complete.

In case you're still craving more creative ideas for the Popover Sundress pattern, here are a few more inspirations:
- Popover Sundress Tutorial
- Popover Sundresses for Dress a Girl Around the World
- Tiered Maxi Dress
- Popover Sundress Inspiration
And there you have it—your very own Popover Sundress featuring the beautiful tuck and fold technique. Happy sewing!
Long Sleeve Check Shirt,Men'S Shirt,Classic Men'S Shirt,Fashion Shirt Check Shirt
SHAOXING NEWGROUND TEXTILE TRADING CO., LIMITED , https://www.shaoxingnewground.com